Simple, Natural Wild Yeast Method
Making your own sourdough starter is easier than you think — and it’s the secret to baking beautiful artisan sourdough bread at home. With just flour and water, you’ll cultivate natural wild yeast that creates that signature tangy flavor and chewy texture. This beginner-friendly sourdough starter recipe requires minimal hands-on time and fits perfectly into a busy schedule. In about 5–7 days, you’ll have a bubbly, active starter ready for baking bread, pancakes, pizza dough, and more. If you’ve been wanting to try sourdough baking, this is the perfect place to start!
⏱️ Time Breakdown
- Prep Time (Daily): 5 minutes
- Fermentation Time: 5–7 days
- Total Time to Active Starter: About 1 week
- Yield: 1 active sourdough starter
📝 Ingredients
- Whole wheat flour (for day 1)
- All-purpose flour (for feeding)
- Filtered or room temperature water
Daily Measurements:
- ½ cup (60g) flour
- ¼ cup (60g) water
✨ Kitchen Tools You’ll Need
This recipe doesn’t require fancy gadgets, just a few reliable kitchen basics to keep everything simple and stress-free.
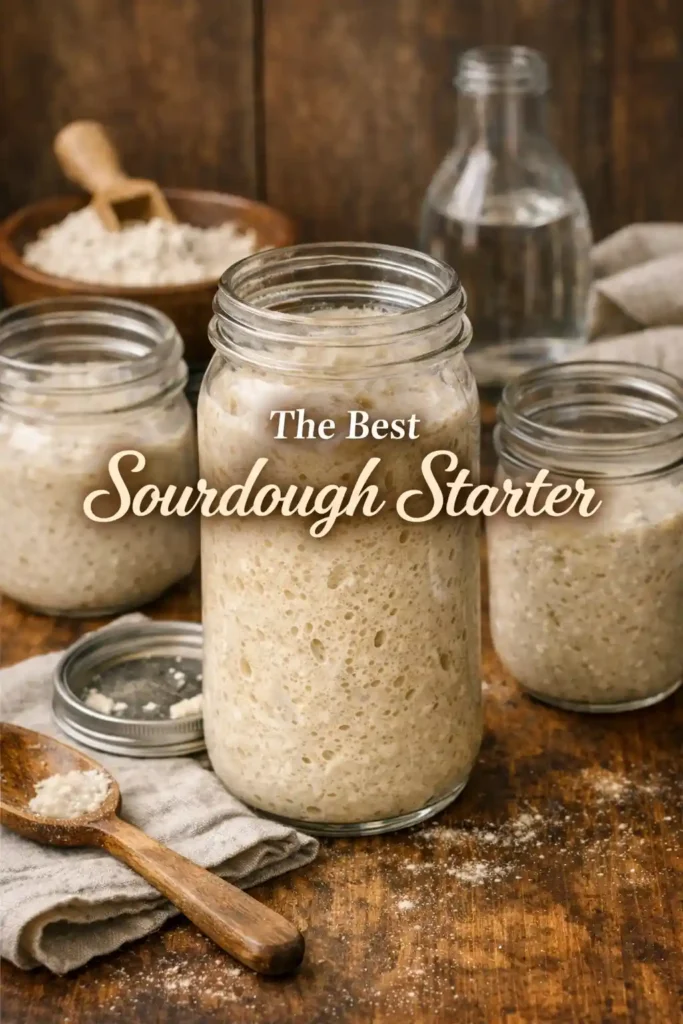
- Clean glass jar (1 quart size works well)
- Measuring cups or kitchen scale
- Spoon or spatula
- Paper towel or breathable lid
- Rubber band (to mark growth level)
👩🍳 Step-by-Step Instructions
Day 1: Start the Culture
- In a clean jar, mix ½ cup whole wheat flour with ¼ cup water.
- Stir until a thick, smooth paste forms (no dry flour pockets).
- Cover loosely with a paper towel or lid and let sit at room temperature (70–75°F ideal) for 24 hours. 😊
Day 2: First Feeding
- You may see small bubbles — or none yet. That’s okay!
- Discard half of the mixture.
- Add ½ cup all-purpose flour and ¼ cup water. Stir well.
- Cover loosely and rest 24 hours.
Days 3–5: Feed Daily
- Discard half each day.
- Feed with ½ cup flour + ¼ cup water.
- By day 4 or 5, it should smell slightly tangy and show steady bubbling. ✨
- Use a rubber band to track how much it rises.
When Is It Ready?
Your starter is ready when:
- It doubles in size within 4–6 hours after feeding
- It smells pleasantly sour (not rotten)
- It’s bubbly and airy throughout
💡 Pro Tips
- Warm Spot: If your kitchen is cold, place the jar near a warm appliance.
- Consistency: Starter should look like thick pancake batter. Adjust water slightly if needed.
- Storage: Once active, store in the fridge and feed weekly.
- No Waste Option: Use discard in pancakes, waffles, or crackers.
🔄 Variations
- Use all whole wheat flour for a stronger flavor.
- Try rye flour for faster fermentation.
- Switch to bread flour once established for stronger gluten structure.
❓ FAQ
Why do I discard half?
Discarding keeps the starter manageable and properly fed.
What if it smells bad?
A strong sour smell is normal. Mold or a rotten smell means you should start over.
Can I speed it up?
Warmer temperatures (not hot!) help fermentation move faster.
What if I miss a feeding?
Just resume regular feedings. It’s more forgiving than you think!